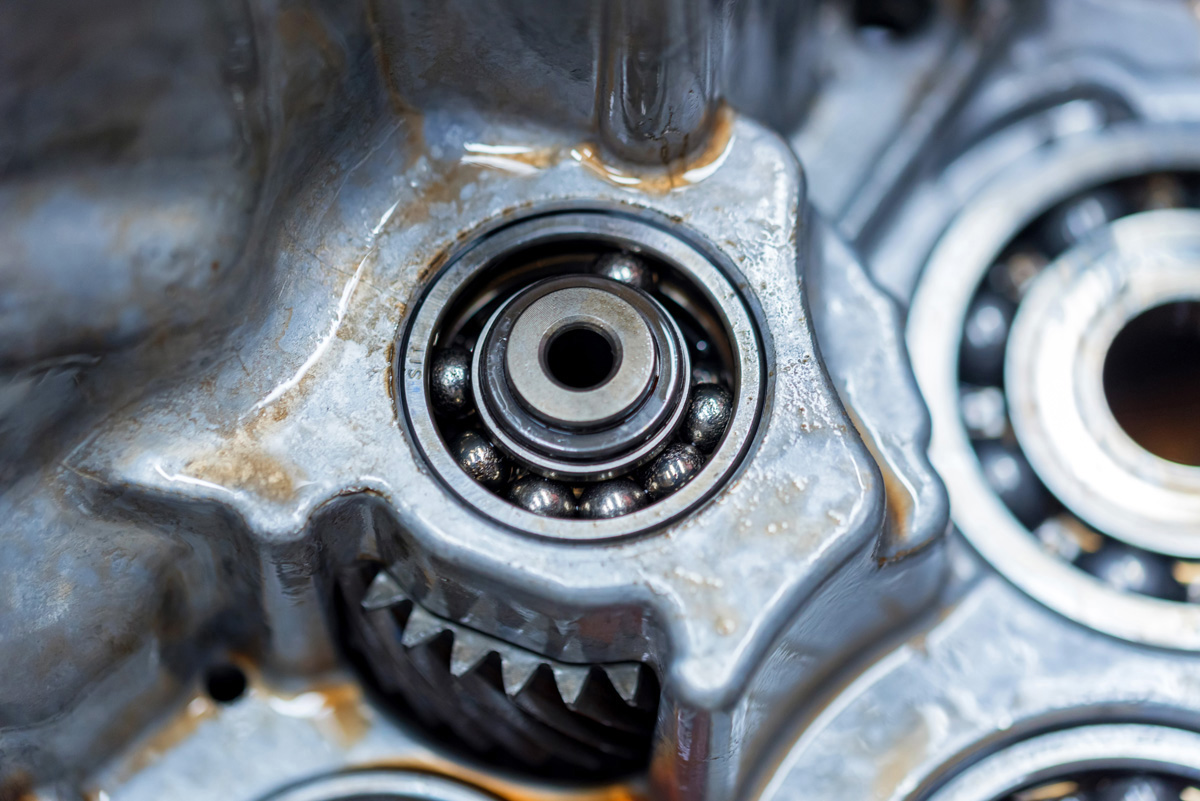
Use our step-by-step guide below to properly replace your torque converter and install a new one.
How To Replace A Torque Converter
Follow this 10-step guide to properly replace and install a catalytic converter.
Step 1
- Start by ensuring your vehicle is parked on a flat and clean surface.
Step 2
- Support the vehicle’s weight onto two jack stands after one end is lifted off the ground.
- Then move to the opposite end of the vehicle.
- Lift your vehicle and place it on two more jack stands.
- Ensure the jack stands are the exact same height.
- This will be the vehicle’s resting position.
Step 3
- Now get under the vehicle to the end of the drive shaft.
- Locate where it is connected to the rear axle.
- There is a universal jack that holds these pieces together. It will stay inside one of the yokes following separation.
- Loosen the four U-bolt nuts and pull the U-bolts free of the yoke.
Step 4
- Put your vehicle in neutral at this time so the drive shaft can be turned.
- Move the universal joint to separate the two yokes, causing one of the free ends to be tipped away from the rear axle.
- Now you are able to turn the drive shaft, as well as pull the shaft away from the rear axle yoke.
- Hold the free end of the shaft, which is located above the rear axle yoke.
- Pull on the shaft to separate it from the back of the transmission.
Step 5
- Find the transmission fill tube once you open the hood of the car.
- Locate the bracket used to keep the tube in place.
- Remove the bolt that goes through the tube, pulling up to remove this from the transmission.
Step 6
- Put your car in park and locate where the torque converter is visible, which will be near the front of the transmission.
- Remove the bolts that fasten the torque converter to the fly wheel.
- You will do this by loosening the bolts.
- The converter will feature three to four feet, all fastened by a nut and bolt.
- Remove all the nuts and bolts that fasten the converter at this time.
Step 7
- Put a floor jack below the transmission pan.
- Raise the arm up to the pan and apply some upward pressure on the transmission.
- Remove the bolts that tighten the transmission to a cross number.
- Remove the bolts that tighten the cross member to the vehicle frame, as well.
- Now remove the cross member entirely.
Step 8
- Loosen your transmission’s bell housing bolts (there should be about 6-7 bolts altogether).
- Pull the transmission away from the motor, putting all the weight on your jack.
- Pull away the transmission from the motor and lower it.
- This is done so the transmission can be put on the ground and so the jack can be removed.
Step 9
- Pull the old converter off the transmission’s input shaft.
- Fill your new converter with a quart of transmission fluid.
- Push onto the transmission’s input shaft.
- Once the converter is pressed onto the shaft, turn it in any direction until it meshes with the notch.
- It should completely sit in place.
- Line your converter up with the shaft.
- Push on it for a better, more secure fit, if needed.
Step 10
- Reinstall your transmission in reverse order of the removal steps.
- Fill the transmission with fluid.
- Check the fluid level while running your vehicle.
Live In The Scottsdale Area? Get Your Inspection Done At Bridwell Automotive Center!
Get your road trip inspection and preparation service done at Bridwell Automotive Center, located at 7171 E Lincoln Dr. Scottsdale, Arizona 85253 or call (480) 948-4781 for more information.


